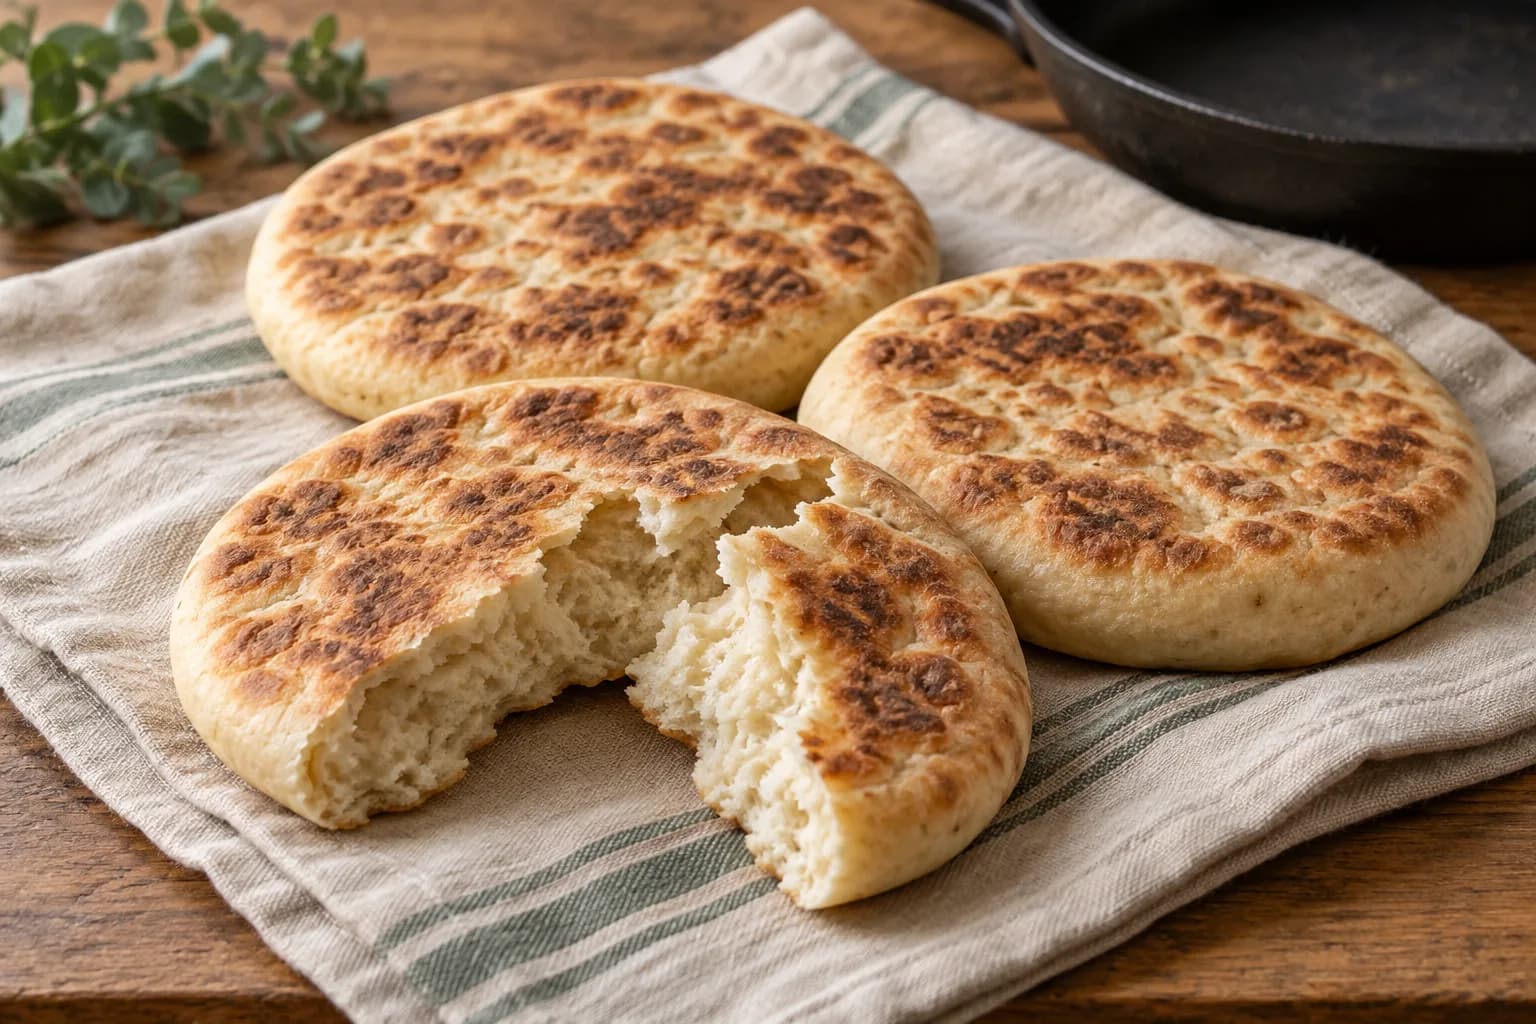
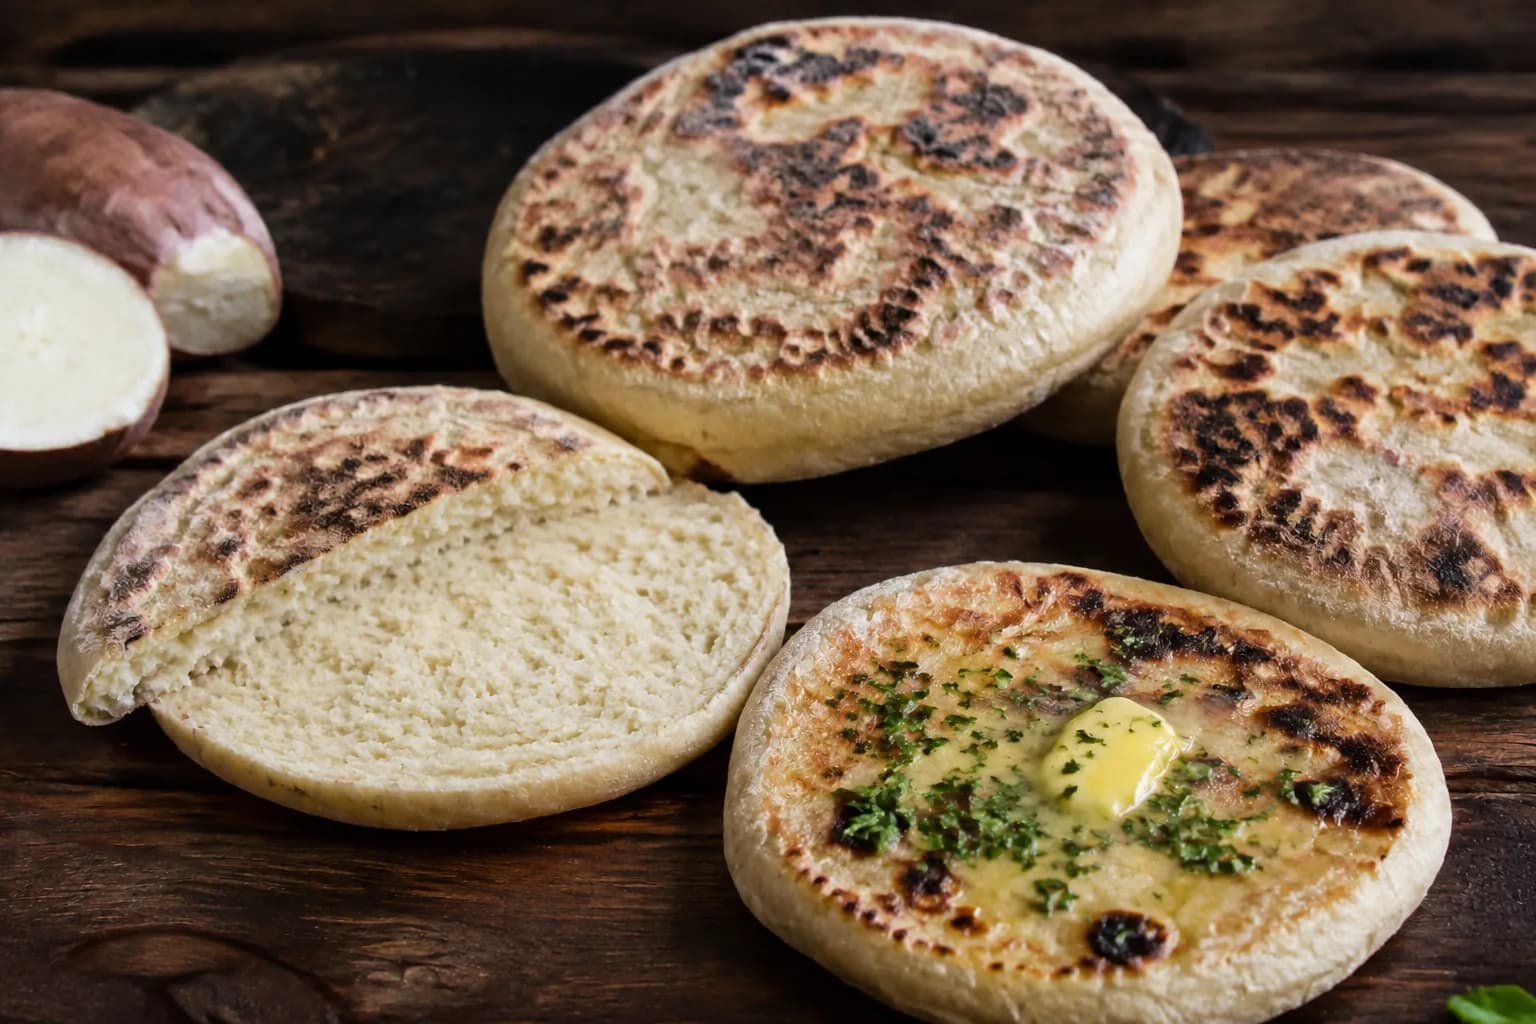
Starting formula
Focaccia
Airy inside. Golden at the edges.
A practical starting point for soft, open focaccia that remains manageable. The formula is ready; you choose how much dough your pan needs.

The formula
One generous pan of focaccia
For a 30 × 40 cm pan: 1,000 g dough. The olive oil in the formula goes into the dough. Have an extra 25 g olive oil for the pan, 15 g for the surface and the needles from 2 rosemary sprigs ready. Salt on top is optional: the dough already contains 2.5% salt.Active preparation: about 20 min · Baking: 25–30 min. Rising time is additional.
- Flour
- 100%546.5 g
- Water
- 75%409.8 g
- Salt
- 2.5%13.7 g
- Yeast
- 0.5%2.7 g
- Olive oil
- 5%27.3 g
Wet enough for air, strong enough for your fingertips
Focaccia is not built on one magic number. This combination is a forgiving starting point for bread flour or strong all-purpose flour.Hydration
An open, soft crumb without turning mixing into soup management.
Olive oil
Tenderness, flavor and a crisp, richly colored base.
Salt
A more assertive level suited to a generously topped flatbread.
Why this ratio works
At 75% hydration the dough can retain plenty of gas, while a few folds still build enough structure. Oil keeps the crumb tender and helps the base and edges brown well.
The yeast amount is a starting point, not a stopwatch. Less yeast and more time often brings more flavor; warmth speeds everything up. Watch volume, bubbles and dough strength.
From sticky dough to airy focaccia
For 1,000 g of dough in a 30 × 40 cm metal pan at least 4 cm deep. Allow roughly 3–5 hours including rising and baking at 22–24 °C; cooler dough needs longer.Mix a soft, sticky dough
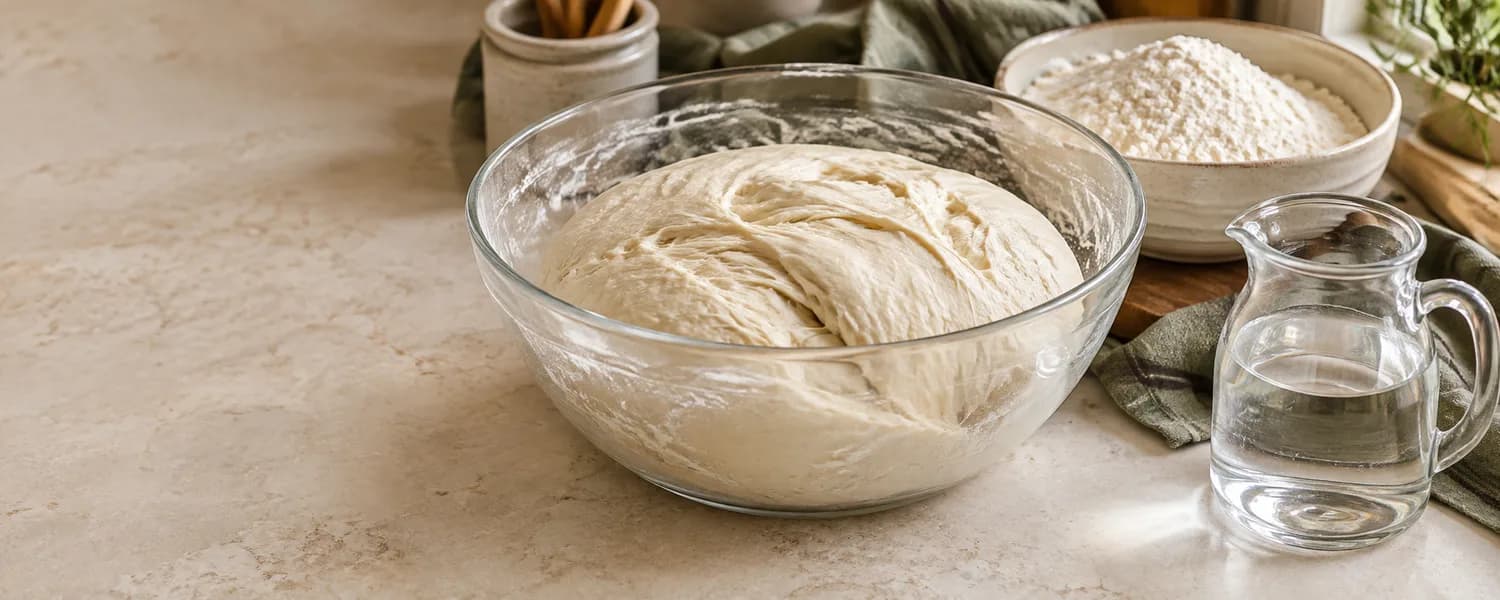
Mix the flour and instant yeast from the ingredient list. Add all the water and the salt, then stir with a sturdy spoon until no dry flour remains. Work in the olive oil from the formula. Cover and rest for 20 minutes. The dough will be loose and sticky: do not add flour to turn it into a dry ball.
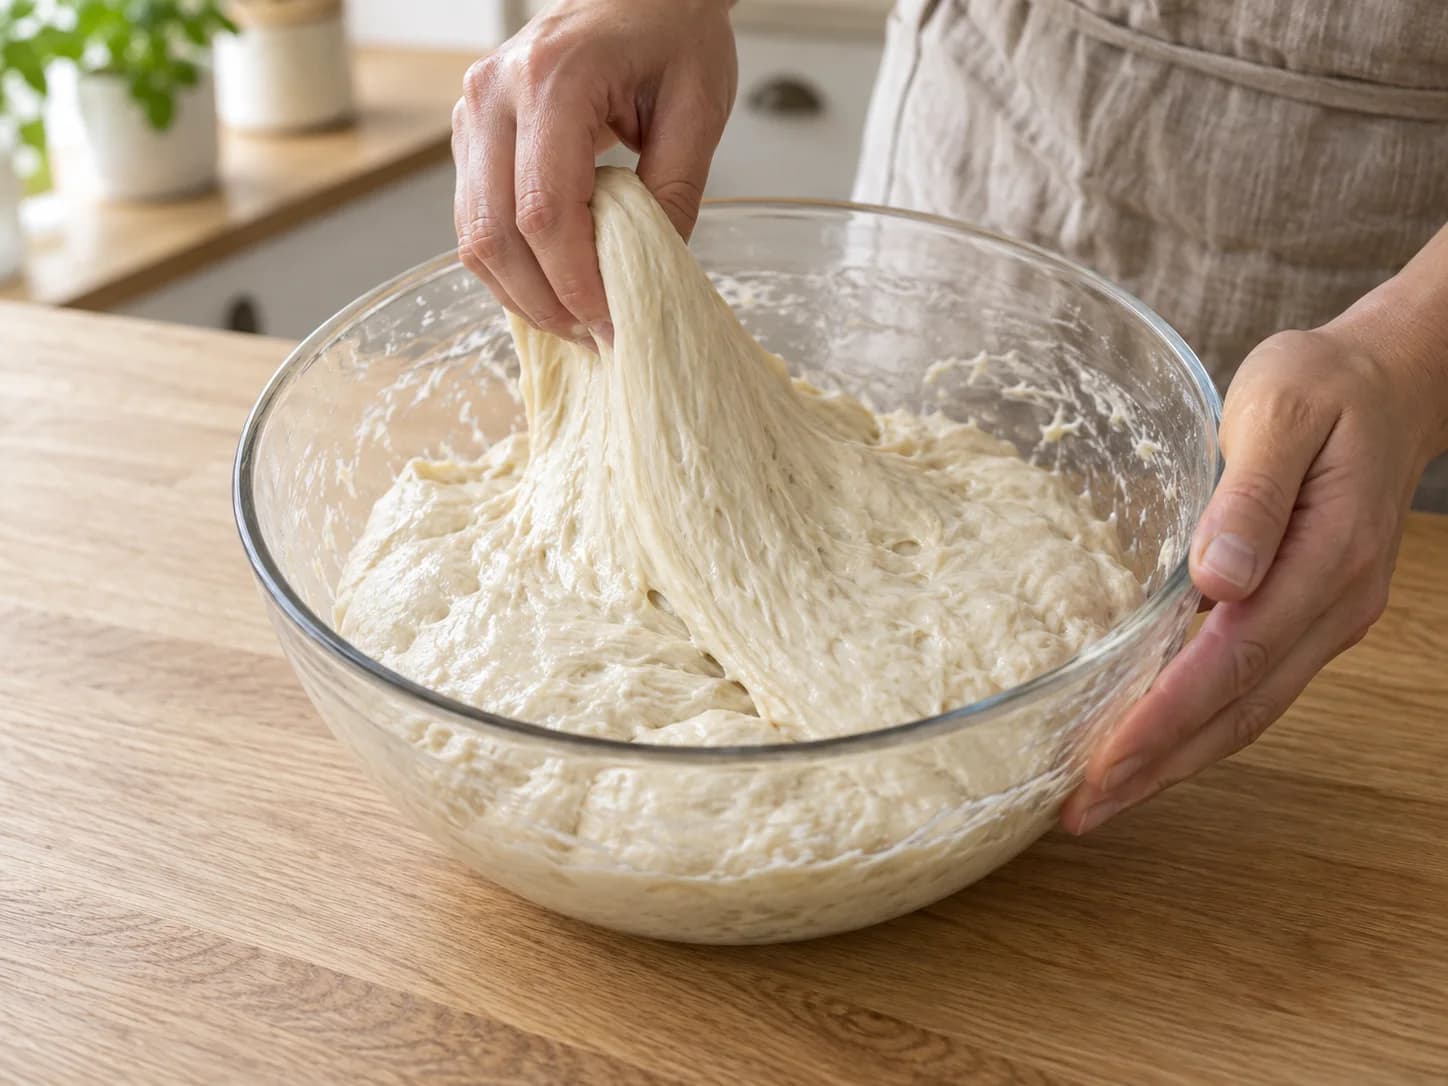
Stretch and fold in the bowl
Wet one hand. Take an edge of dough, lift gently until you feel resistance and fold it over the centre. Turn the bowl a quarter turn and repeat until you have folded all four sides. Cover, then repeat this round twice more at 20-minute intervals. Stop stretching before the dough tears.
Lift gently until you feel resistance, then fold over the centre. Keep the dough in the bowl.
Let the dough become airy
After the final fold, leave covered for another 1–2 hours at 22–24 °C. Look for a clear increase to about one and a half to almost twice the original volume, bubbles around the edges and a gentle wobble when you move the bowl. If it is still dense and has no bubbles, give it more time.
Ease the dough into the pan
Coat the base and sides of a 30 × 40 cm metal pan with 25 g extra olive oil. Loosen the dough with a wet scraper and gently slide it into the pan. Turn it over once to oil both sides. With oiled hands, gently stretch it wider. If it springs back, cover and wait 20 minutes before easing it towards the corners.
Proof until the dough wobbles
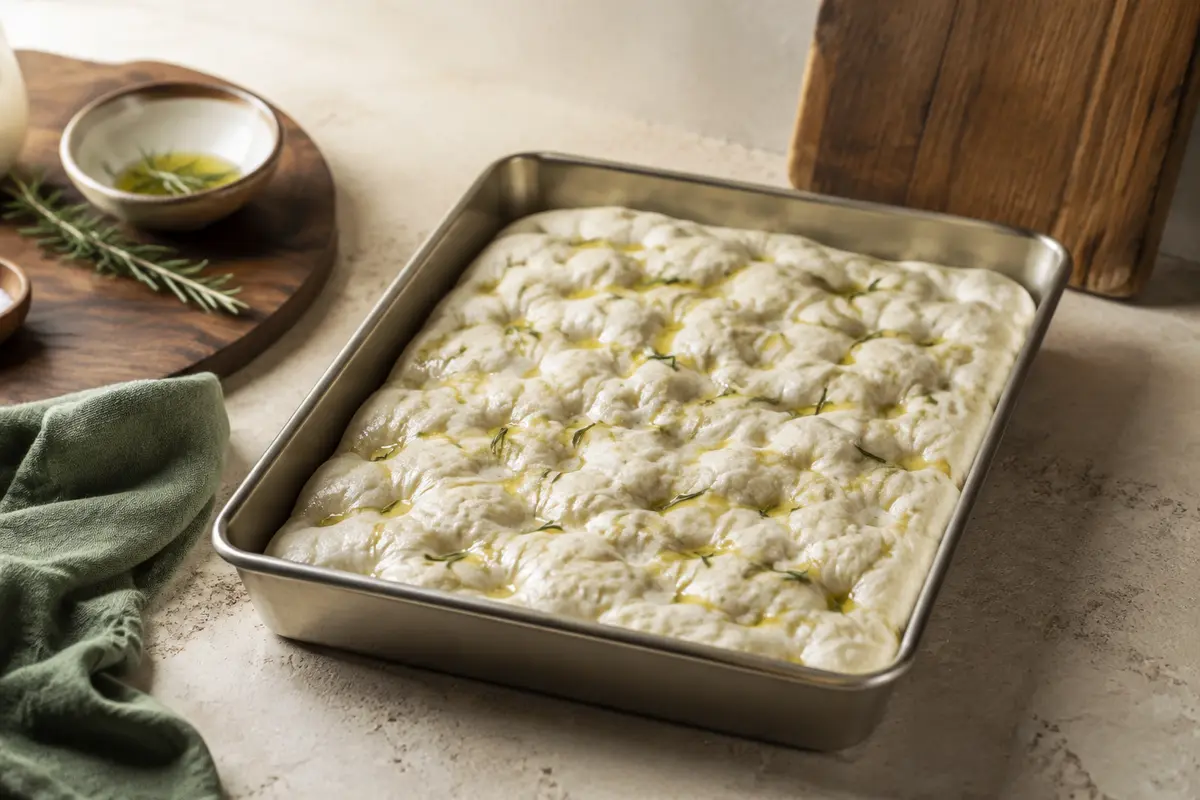
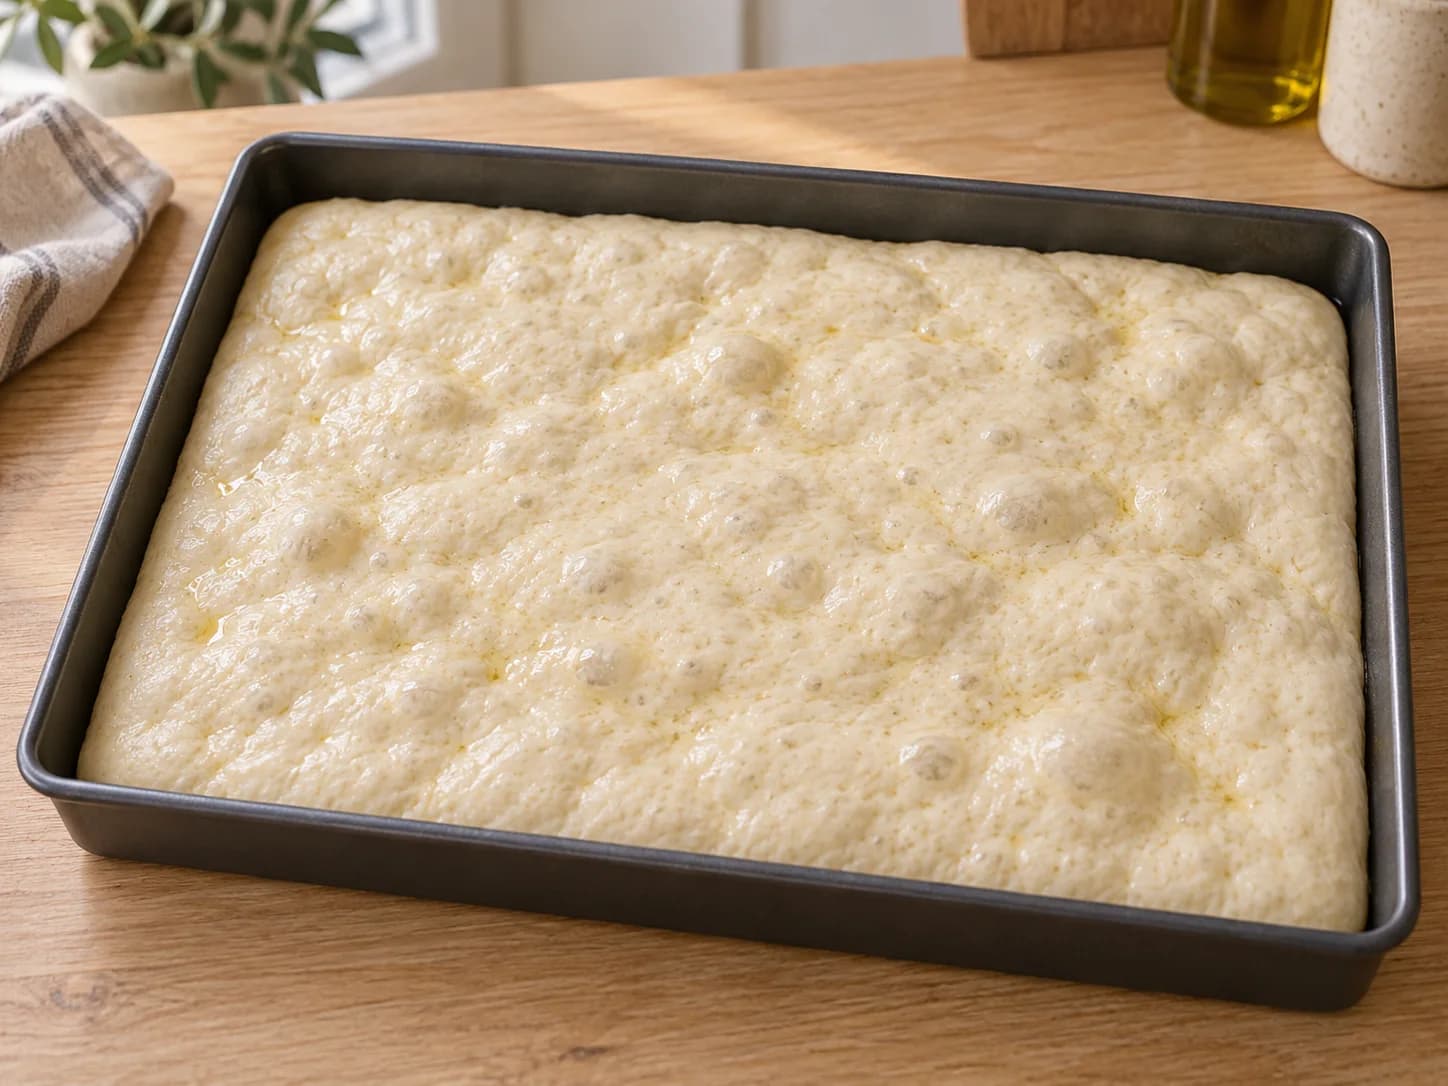
Cover the pan without touching the dough. Proof for about 45–90 minutes at 22–24 °C, until the dough fills the pan, is visibly thicker and wobbles when you gently move the pan. Surface bubbles are welcome. Meanwhile, preheat the oven for at least 30 minutes to 230 °C conventional or 210 °C fan.
Before dimpling, the dough is puffy, bubbly and risen into the corners.
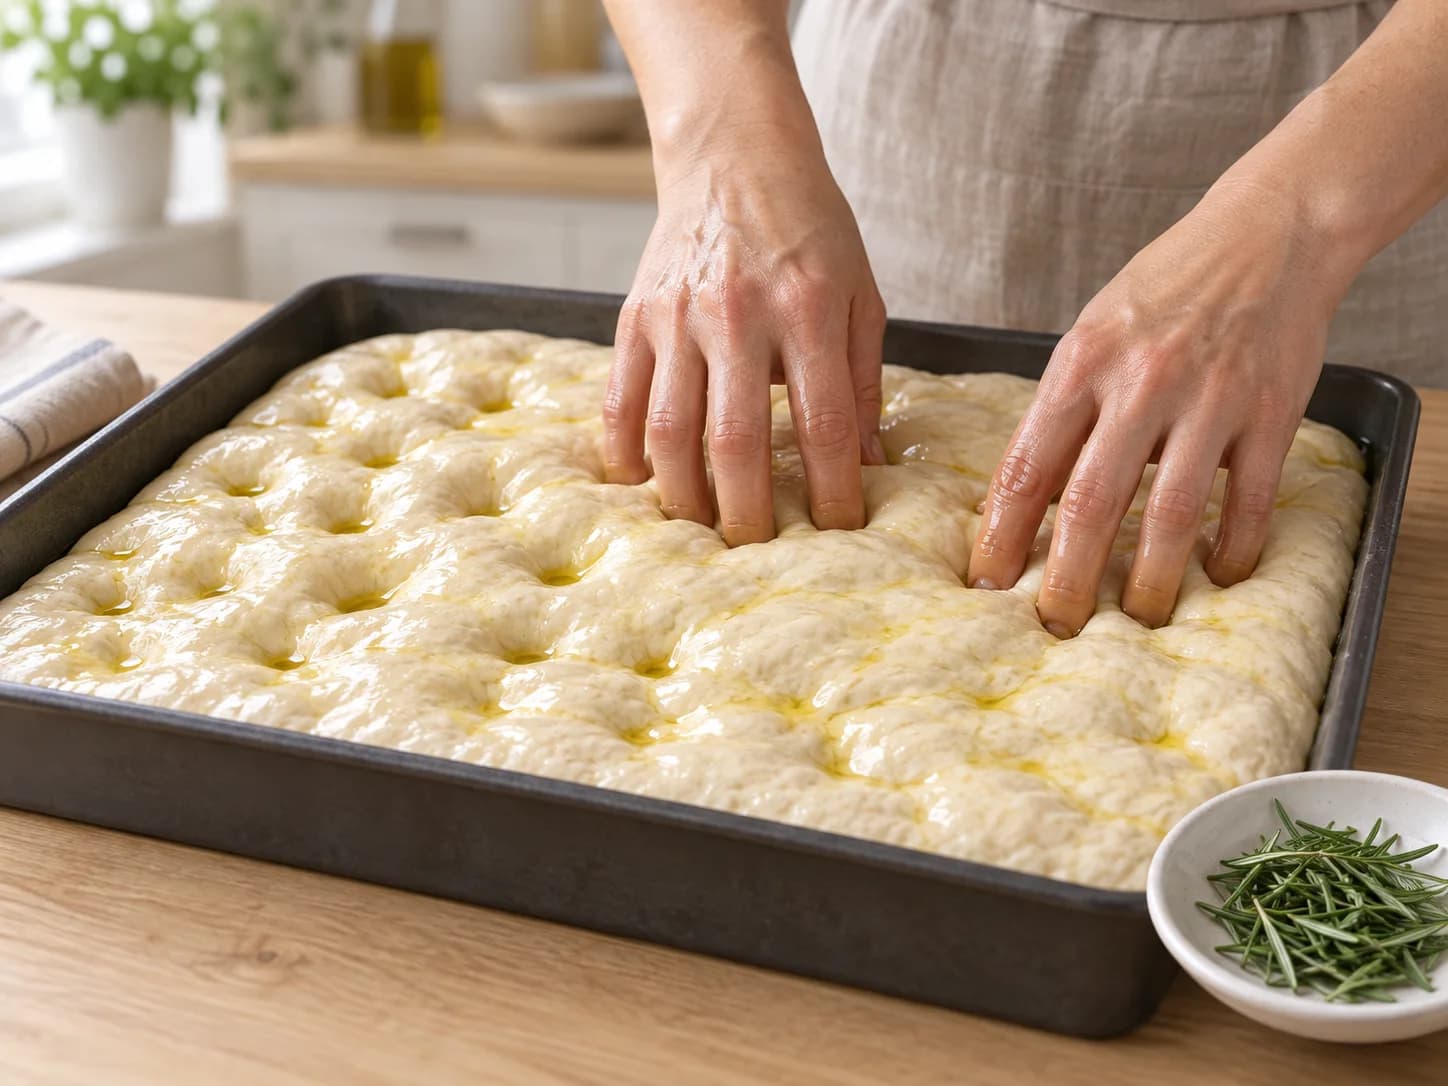
Dimple and add rosemary
Drizzle 15 g extra olive oil over the surface. Press oiled fingertips straight down almost to the base, then lift them out; repeat across the pan. Keep the puffy areas between the dimples intact. Scatter over the needles from 2 rosemary sprigs and press lightly into the oil. If desired, add only a small pinch of coarse salt.
Press straight down, keeping the puffy areas between intact. Add the rosemary afterwards.
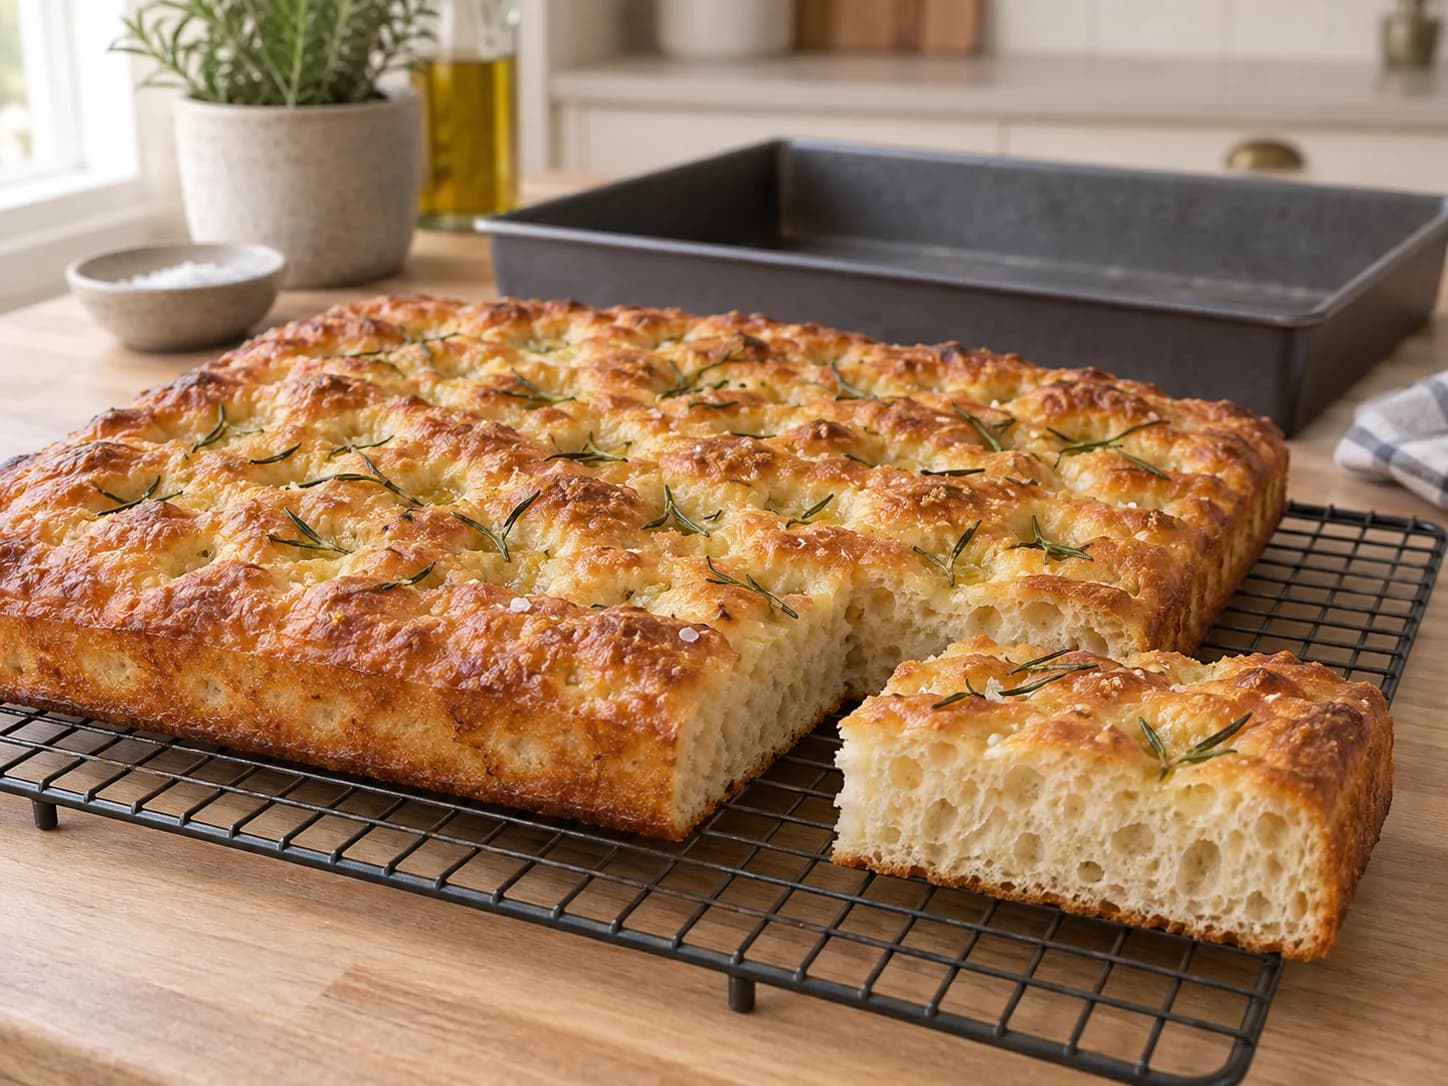
Bake golden and cool on a rack
Bake immediately on a rack just below the middle of the oven for about 25–30 minutes. Both top and bottom should be golden: after baking, carefully lift a corner with a spatula to check underneath. Remove from the pan after 5 minutes and cool on a rack for at least 20 minutes before slicing, so the base stays crisp.
Cool outside the pan. The cut piece shows the crumb and the thin baked base.
Problems with proofing, dimpling or the base
It spreads without limit
Use stronger flour, hold back 3–5% water or add one more fold.
The crumb stays tight
Allow a longer final proof and handle the dough more gently when moving it.
The base stays pale
Bake lower in the oven, preheat longer and use enough oil beneath the dough.
Frequently asked questions
Can focaccia spend the night in the fridge?
Yes. After the folds, cover well and refrigerate for 12–18 hours at about 4 °C. If your fridge is warmer or the dough rises too quickly, use less yeast next time. The next day, let it warm up and proof in the oiled pan until puffy and wobbly; this may take 2–4 hours. Then follow the dimpling and baking steps.
Which flour works best?
Preferably use strong bread flour with about 11–13% protein. Weaker flour may stay very loose at 75% hydration. In that case, try 70% hydration in the calculator rather than adding extra flour during folding.
How much dough fits my pan?
The 1,000 g formula is for a 30 × 40 cm pan. For a similar thickness in a 20 × 30 cm pan, use 500 g dough and about half the extra oil and rosemary. Use the focaccia pan calculator for other sizes.